Soldering a new DC jack onto the motherboard is a complicated process but essential for power jack replacement. It takes skills in not just soldering but also de-soldering and properly removing the broken charge port. The soldering techniques for power jack replacement are listed below in a step-by-step order from start to finish. By the end of this guide, you should have successfully restored power to a laptop that’s not charging.
Check out our article on diagnosing a laptop with a bad charge port to make sure you have this issue before you try and fix it.
See also: Diagnosing a laptop with a broken charge port
What tools are needed for power jack repair?
-Soldering iron (Hakko fx-888D) or an equivalent iron (with chisel tip)
-60/40 solder Kester
-De-soldering braid or pump
-Flux (Syringe, pen, etc.)
-99% alcohol
Tools you might need/recommend:
-Air soldering station
-Thermal tape
Steps for Removal and Replacement
Step 1: Prep
The first thing to do is prep the broken power jack for de-soldering/removal. If the motherboard is dirty where the port is located, use compressed air or 99% alcohol to clean it.
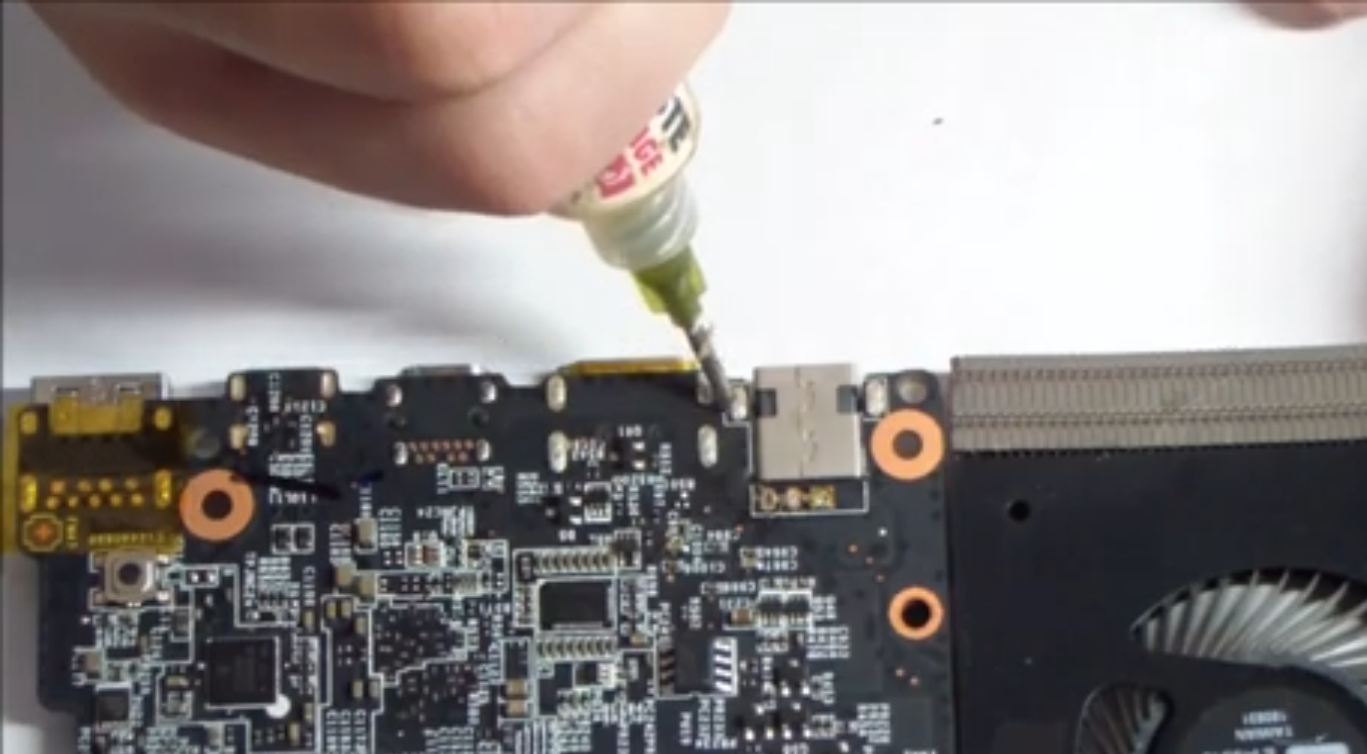
Step 2: Add flux and solder
You want to apply flux and fresh solder to each through hole to break up and get the old existing solder flowing and heated up. This will aid in the removal process. I set my soldering station to 700 degrees Fahrenheit.
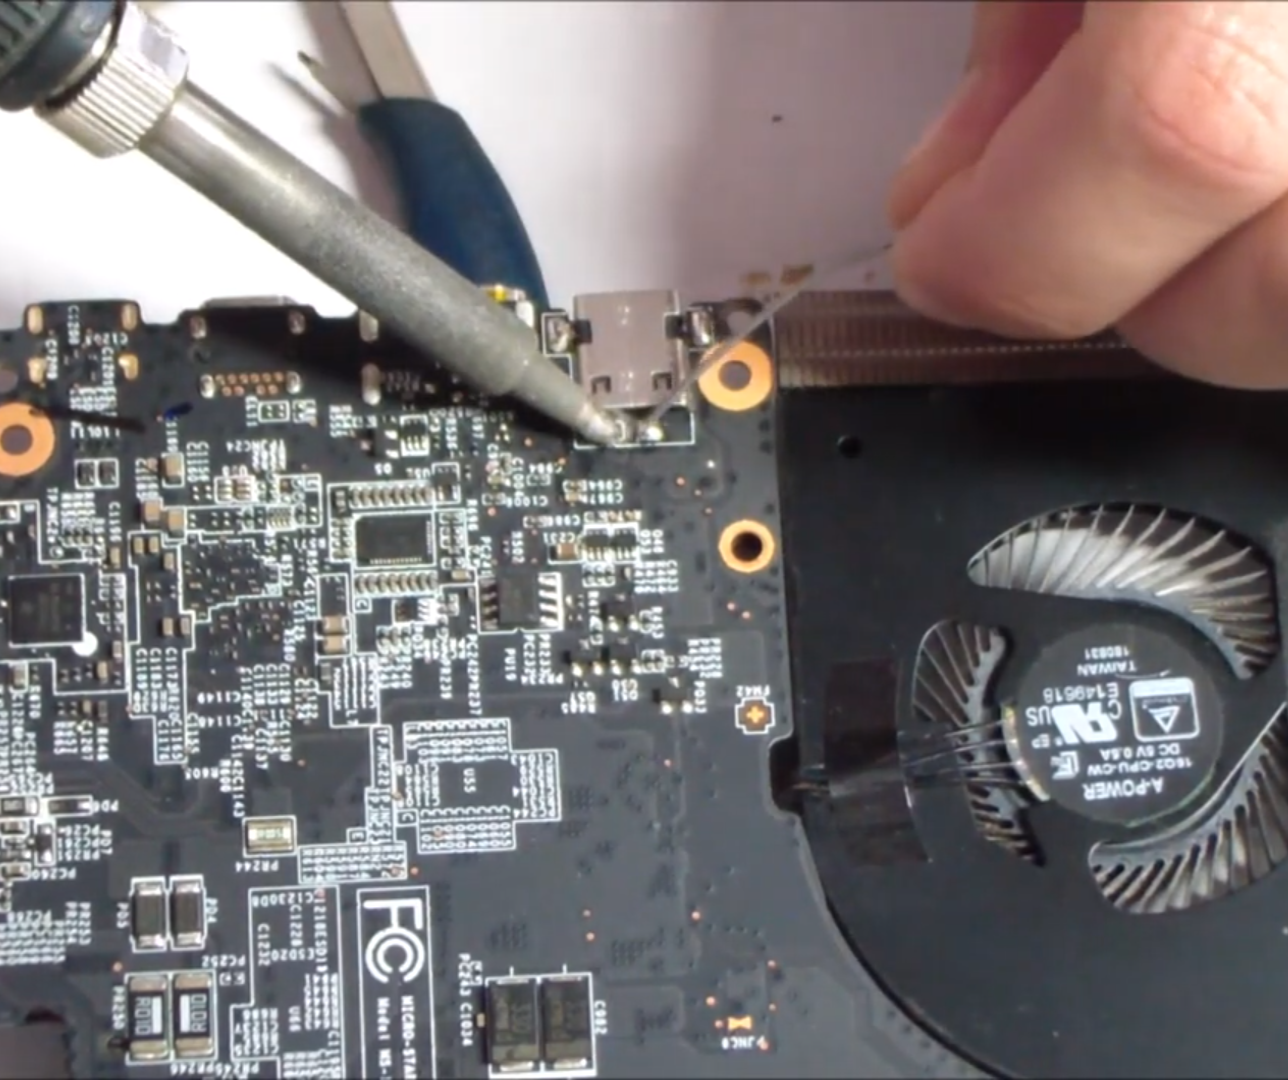
Step 3: Removal/De-soldering
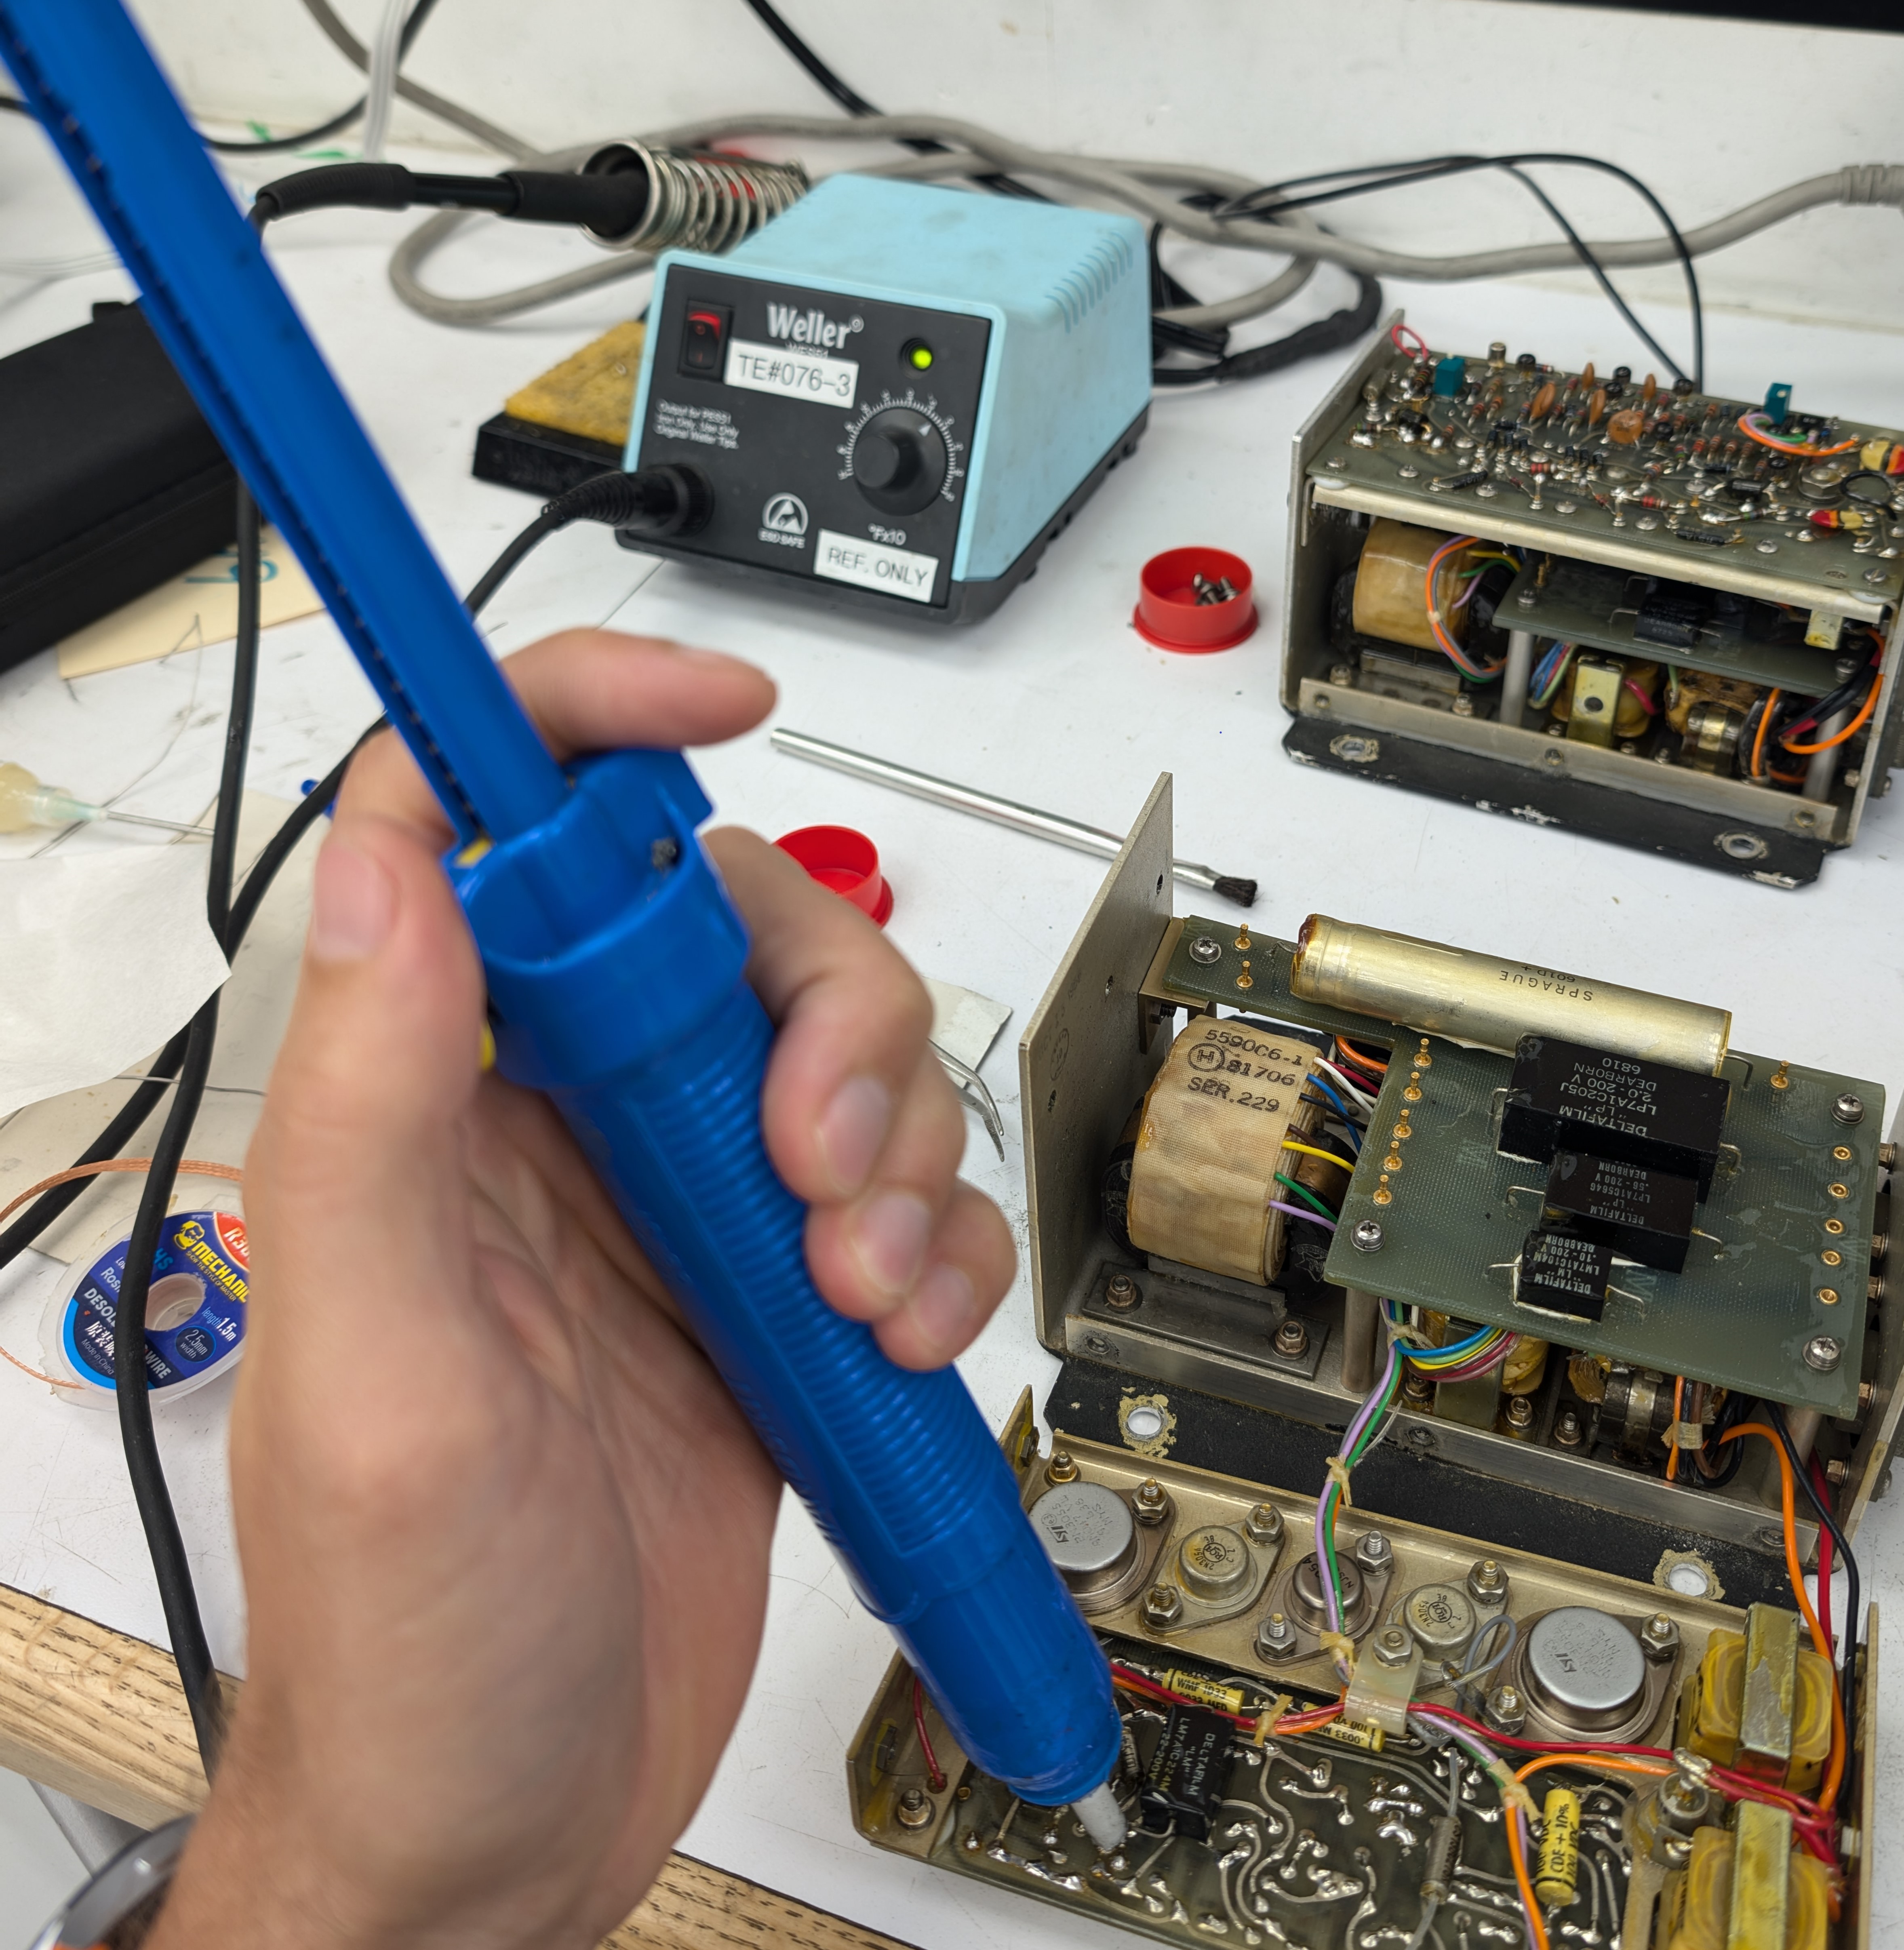
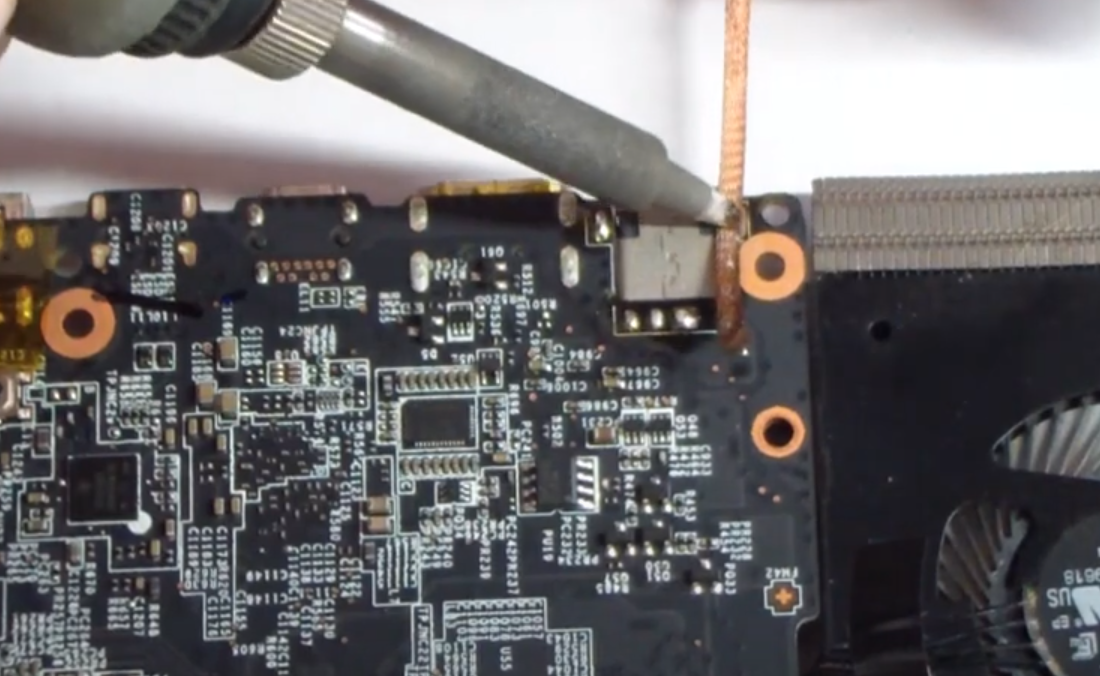
After step 2, you can take a solder braid or a desoldering pump to remove the existing solder. You may need to repeat step 1 because sometimes the flux and new solder don’t get into the through hole well enough, and it can be stubborn. If you’re using the braid, put it over the fresh solder, and through hole, the solder will suck up into the braid (see picture below). You will do this until all of the solder is removed from the through hole.
If you’re using the pump, you will put your soldering iron tip over the through hole until the solder is flowing. Next, you take the pump and put it over the flowing solder, and suck it up into the pump. I have attached a picture below of the braid and pump in action.
Remember, the de-soldering aspect of the whole jack repair is considered the hardest part, and where many people get stuck and give up or give it to a professional.
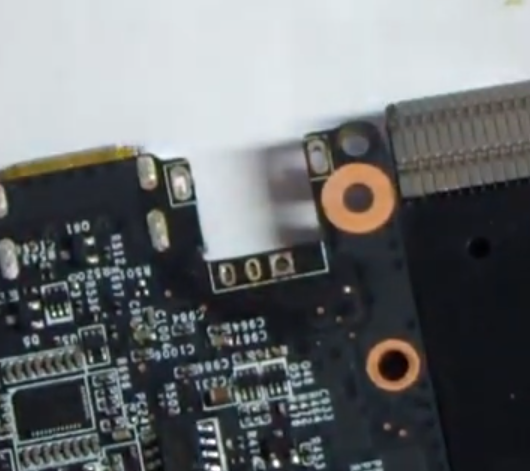
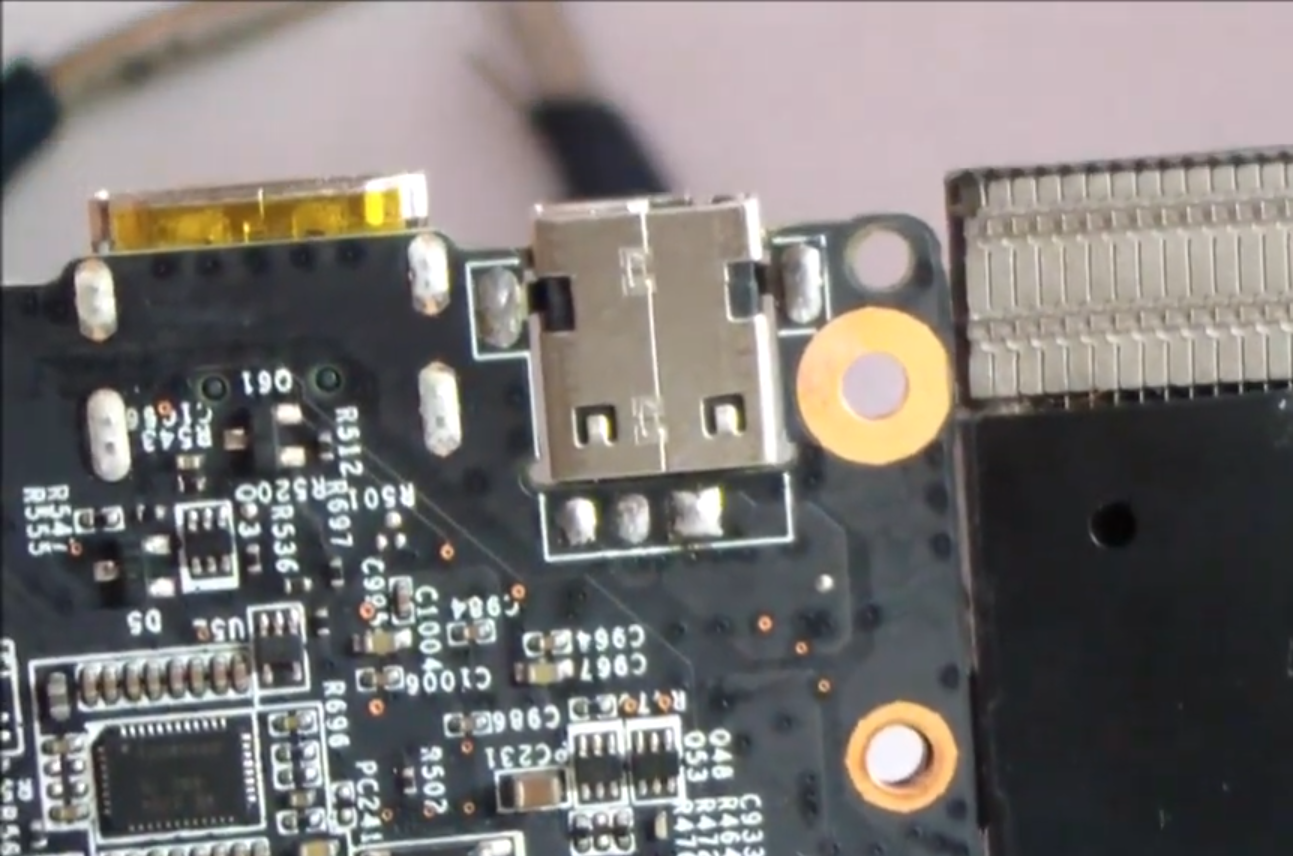
Once enough solder is removed, you can remove the jack. If you have used the pump and/or braid and the port still won’t come out, this is where I will use the hot air station to finish the removal. Sometimes braid and pump alone won’t get the stubborn solder out of the motherboard completely.
Step 4: Air Soldering station:
The all-important circuitry around the power jack needs to be covered by thermal tape. Without it, you risk ruining vital circuitry around the port, which can ultimately brick the motherboard.
After applying the thermal tape, you can start heating up the jack area. I set my soldering station to around 400 degrees Celsius with the air pump pushing slightly over half. Evenly apply heat over the power jack until you see the solder flowing. It will fall out, or you can hold it with a tweezer and remove it.
Prep for new jack after removal:
All holes need to be cleared and solder removed.
New Jack Installation:
Step 5: Install the new power jack
Once the old charge port is removed, it’s time to solder a new jack into place. You want to make sure the jack is inserted flush into the motherboard and not at an angle. If it’s facing up or down, this can be a problem upon reassembly, and the user might have issues getting their power cord to plug in properly.
Make sure the solder has flowed through both sides of the through hole.
Step-by-step guide from start to finish on replacing the power jack.

Stephen Pomeroy is the owner of Pomeroy Computing (www.pcrepairhelp.net) and has been performing laptop and desktop pc repairs since 2005. He is an A+ certified technician with 19 years of experience in diagnosing and repairing notebook and desktop computers. He is also in his Senior year at Florida Atlantic University studying Electrical Engineering.
Pingback: - Laptop Power Jack Repair